
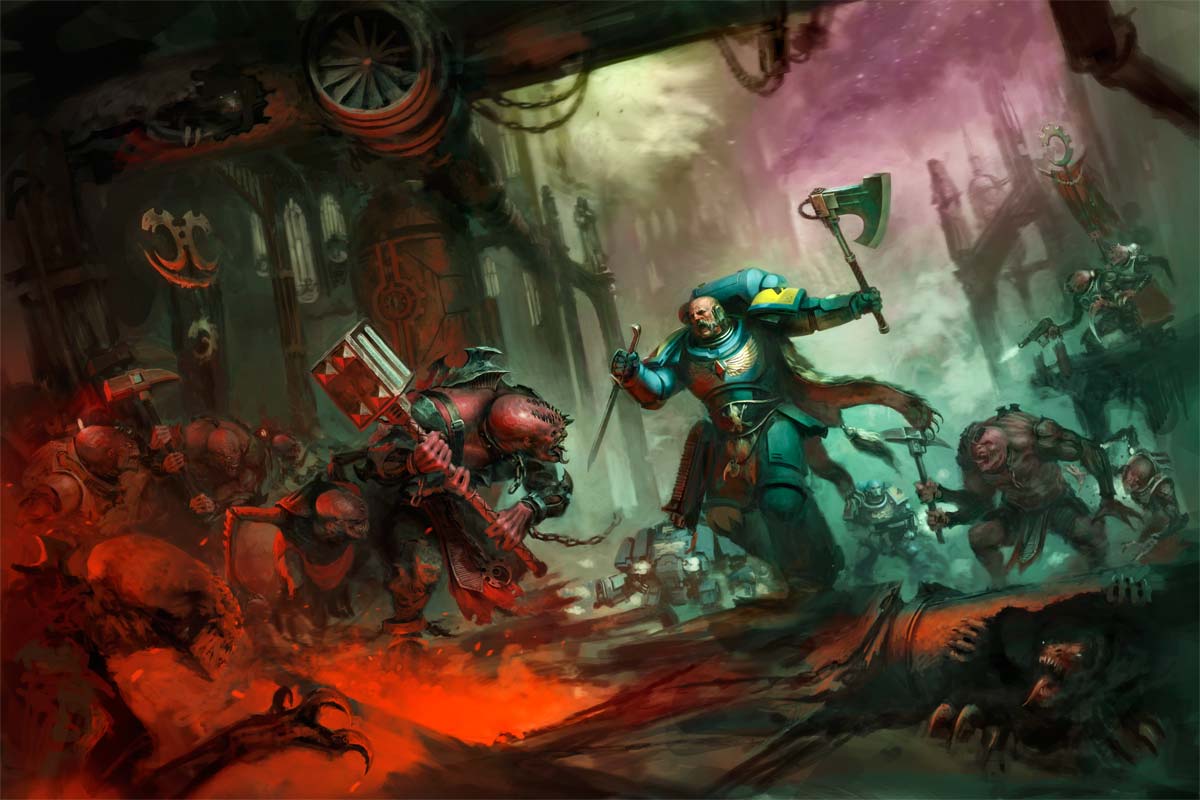
Hey there Kill Team players!
In my last article we talked about game setup and how that can impact your ability to win or lose a match. Now, I want to talk about what your choices are in your movement phase and how using them properly can win games. We aren’t getting to turn one yet because good commanders need to know all their options and how to use them. Movement in Kill Team is so important because you have limited model count and every wound matters. The big thing about Kill Team that keeps bringing me back to the table is how your decisions matter more than ever before. I have been playing some 8th edition and I played a LOT of 5th and 6th edition. I can say very confidently that movement in the big games doesn’t feel like it matters as much compared to Kill Team. I want to be very clear that I didn’t say it isn’t as important, but it doesn’t feel as impactful. Big games have a lot of units and models on the table and you will lose some every turn.
Kill Team feels MUCH worse when you lose a single model because the stakes are higher and your options are limited on the battlefield.
If you play Orks in 8th ED and run a squad of 30 boys and lose 5-10 of them in the shooting phase, ok that was bound to happen. If you play 10 models in Kill Team and lose 3 in a single turn, that hurts because your battlefield presence is severely hampered. Now, this is not meant to be a comparison one for one, but it’s meant to show the reality of each model carrying value and importance during each mission. Every single model has a purpose and losing one when you didn’t plan on losing that model hurts. You want these models to give you maximum value per turn and losing even one can severly impact your gameplan. The best weapon to keep your models alive is to know how movement works and what options you have available to you!
The Movement Phase
This is the main phase where your models do stuff. Now that sounds really dumb, but the simple explanation for the movement phase is really that basic. Your movement choices determine a lot of potential outcomes in the battle round. During the movement phase there are lots of questions you need to ask yourself so that you stay on target when fighting over objectives and victory points.
– Are you controlling an objective?
– Are you contesting an objective?
– Are you going to shoot another model?
– Are you going to be shot?
– Are you charging an enemy?
– Are you gaining ground on the battlefield?
– Are you losing ground on the battlefield?
– etc etc etc……
The movement phase is your best opportunity to take control of the game with little RNG (random number generator) affecting you. Rolling dice is very important, but dice have outcomes you cannot control. Movement is one of the few parts of the game where you have the most control over the situation. Now mind you, if you need a 12″ charge to win the game, then you are clearly betting on the dice to be kind to you. But if you use your movement options and terrain to your advantage, you can help mitigate those random odds and create situations where a charge distance is much more likely to succeed than be based a lucky roll. If you are able to predict the enemy movements and counter then you’re going to have strong movement phases. But if you’re trying to play catch up this will be an uphill climb to win your game. So the movement phase, how can you use it to push the tide of battle into your favor? Well to answer that question let’s take a look at what options you have in your toolbox.
Flight
If a model has the FLY keyword then you have some pretty powerful options. First of all, you can fly over models, including enemy and friendly models. If you have to move without the FLY keyword, you cannot move within 1″ of an enemy model. Good commanders will position their models to block pathways so you cannot get to prime targets because you have to move within 1″ of enemy model bases along the way. A model with FLY can ignore this trick and just go anywhere they want. This means enemy commanders attpemting to “hide” their leader or specialist models behind other models does not work. Your models with FLY can easily maneuver around the battlefield or charge prime targets with no fear of being blocked. You still have to end your movement in a legal way (not within 1″ of an enemy model unless you charge that model) but you can ignore all models and vertical distances when moving. So if you move, advance, charge, retreat or fall back, you are always flying and can move over things normal models without the FLY keyword cannot.
Another neat ability for flying models is the ability to fall back in the movement phase and then shoot in the Shooting Phase.
Normal models without FLY can choose to fall back during the movement phase and then do nothing for the rest of the turn (unless some special ability or tactic says otherwise). Models with the FLY keyword can choose to fall back AND shoot in the shooting phase. This is a very powerful way to use flight to stay mobile and keep pressure on your opponent in each phase. A subtle note about falling back versus retreating is that falling back allows you to move up to your full move characteristic. This means you can move a Tau drone 8″ in ANY direction when falling back. If you need to contest an objective or control one late game, you can just choose to fall back with that 8″ FLY move and you can still shoot in the following shooting phase. If you retreat when a model charges you, then you can only move 3″ and it must be AWAY from the charging model so you’re further away after the move. A flat 3″ is much worse than your regular movement but a fall back move is often confused for retreating and the difference in battlefield presence is noticeable.
- One of my favorite tricks with flight is charging people over walls when they think they are safe. This is a powerful option to put pressure on the enemy so they have to respect your charge distances and make sure they don’t set themselves up for a free charge. Another favorite trick I enjoy is sometimes falling back with a full move AND shooting later in the round after engaging a powerful model or specialist. This trick does require you to survive the previous round, but if you can charge a heavy damage or -AP weapon touting model and then fall back in the next round, that enemy model has lot a of of their effectiveness on the battlefield.
Flight has a lot of practical applications and gives commanders a lot of movement choices that most Kill Teams don’t have access to. I recommend practicing your movement with flying models and get used to using that keyword to give you an advantage each movement phase.
Falling Back
If you start the movement phase and your model is within 1″ of an enemy model you have two options, stay and fight or make a fall back move. Depending on your strategy, army, tactics and special abilities you may want to fall back.
Quick note: you CANNOT fall back if you were charged successfully in the current battle round.
If you go first in a round, you have the option to either stand your ground or fall back. There are many practical applications for falling back but let’s look at the downsides first. If you chose to fall back you may move a distance equal to or less than your move characteristic and must end at least 1″ away from any enemy units. Your model falling back cannot advance, charge, react, be readied or shoot in the battle round. Models that can FLY are allowed to shoot in the next shooting phase as we discussed above.
With the penalties out of the way, why would you want to fall back? Well, the fact you get your full movement with any mobility bonuses is pretty powerful. But you can also limit your opponent’s choices for the model that was engaged with yours. The standard options for a model that was “fallen back from” is to either stand there so you can shoot in the shooting phase or fall back itself. That means it cannot charge in the movement phase and if it does fall back it cannot shoot in the next shooting phase.
With the new release of Elites, some models in specific factions can now charge if an enemy model falls back, but this is not a universal rule. For the most part, if you fall back, the enemy model has limited options when they activate. Using Fall Back to hinder enemy options is powerful because Kill Team is all about denial. For example, if you successfully charge a Plague Marine model with a Tau drone, that Plague Marine cannot move if they go after you and they cannot shoot anything in the shooting phase. If you happen to survive the fight phase and move into the next round you locked down a 14+ point model with a 7 point model for an entire round. If your model dies, you still controlled the pace of the turn with a minimal loss to your tempo and army composition. Now, let’s imagine you survived and move into the next round. If the Plague Marine player goes first they have to assess if they want to fall back or stay in close combat. If you go first, you should absolutely consider a fall back move to force that Plague Marine to be useless in the shooting phase or the fight phase since they have to pick standing still (to shoot later) or falling back themselves (but cannot shoot later). Once again, those 7 points invested in that Drone have made that 14 point Plague Marine model’s options limited which gives you control over the pace of the game.
Another reason to fall back is to contest objectives. Units with FLY, flip belts or some ability to move over terrain can use falling back to their advantage and help win games. Often, during games you will see one of your units locked in combat with an enemy model while contesting an objective. Since neither player controls the objective, using a fall back move to get one of your units near the objective can score the victory points you need to win games. Even if your opponent decides to move one of their models to counter you, you are still controlling the pace of the game.
Your opponent has a plan, you have a plan. If you can force the opponent to play around your movement choices then you can create situations where you have the advantage with battlefield control. Using the fall back move is not an automatic decision, but it can present very difficult situations for your opponent to deal with.

Wrap up
There is a lot to process in the movement phase. This article is just covering the basics of what is in the rulebook and practical applications. In the second part of the movement phase, we will take a look at Advancing, Readying, and Charging.
I hope you enjoyed this article and please feel free to comment below if there are any movement tips or tricks you have found while playing Kill Team. And if you enjoyed this article, check out the Squad Tactica podcast and our Discord channel. We talk about Kill Team weekly on the show and we have a growing community of amazing people who are super friendly and range from casual to competitive players from around the world.
-Sugi
theSug1
Latest posts by theSug1 (see all)
- Kill Team Movement: Movement Phase Options Part 1 - June 20, 2019