")
Welcome to Rogue Squadron, pilot! In this series we will be looking at different squadrons you can fly in Fantasy Flight Games X-Wing miniatures game. We give you the squad, what expansion pack all of the upgrades come from and then give you the low down on how best to fly it. Strap in and get ready to fly…
All Wings Report In
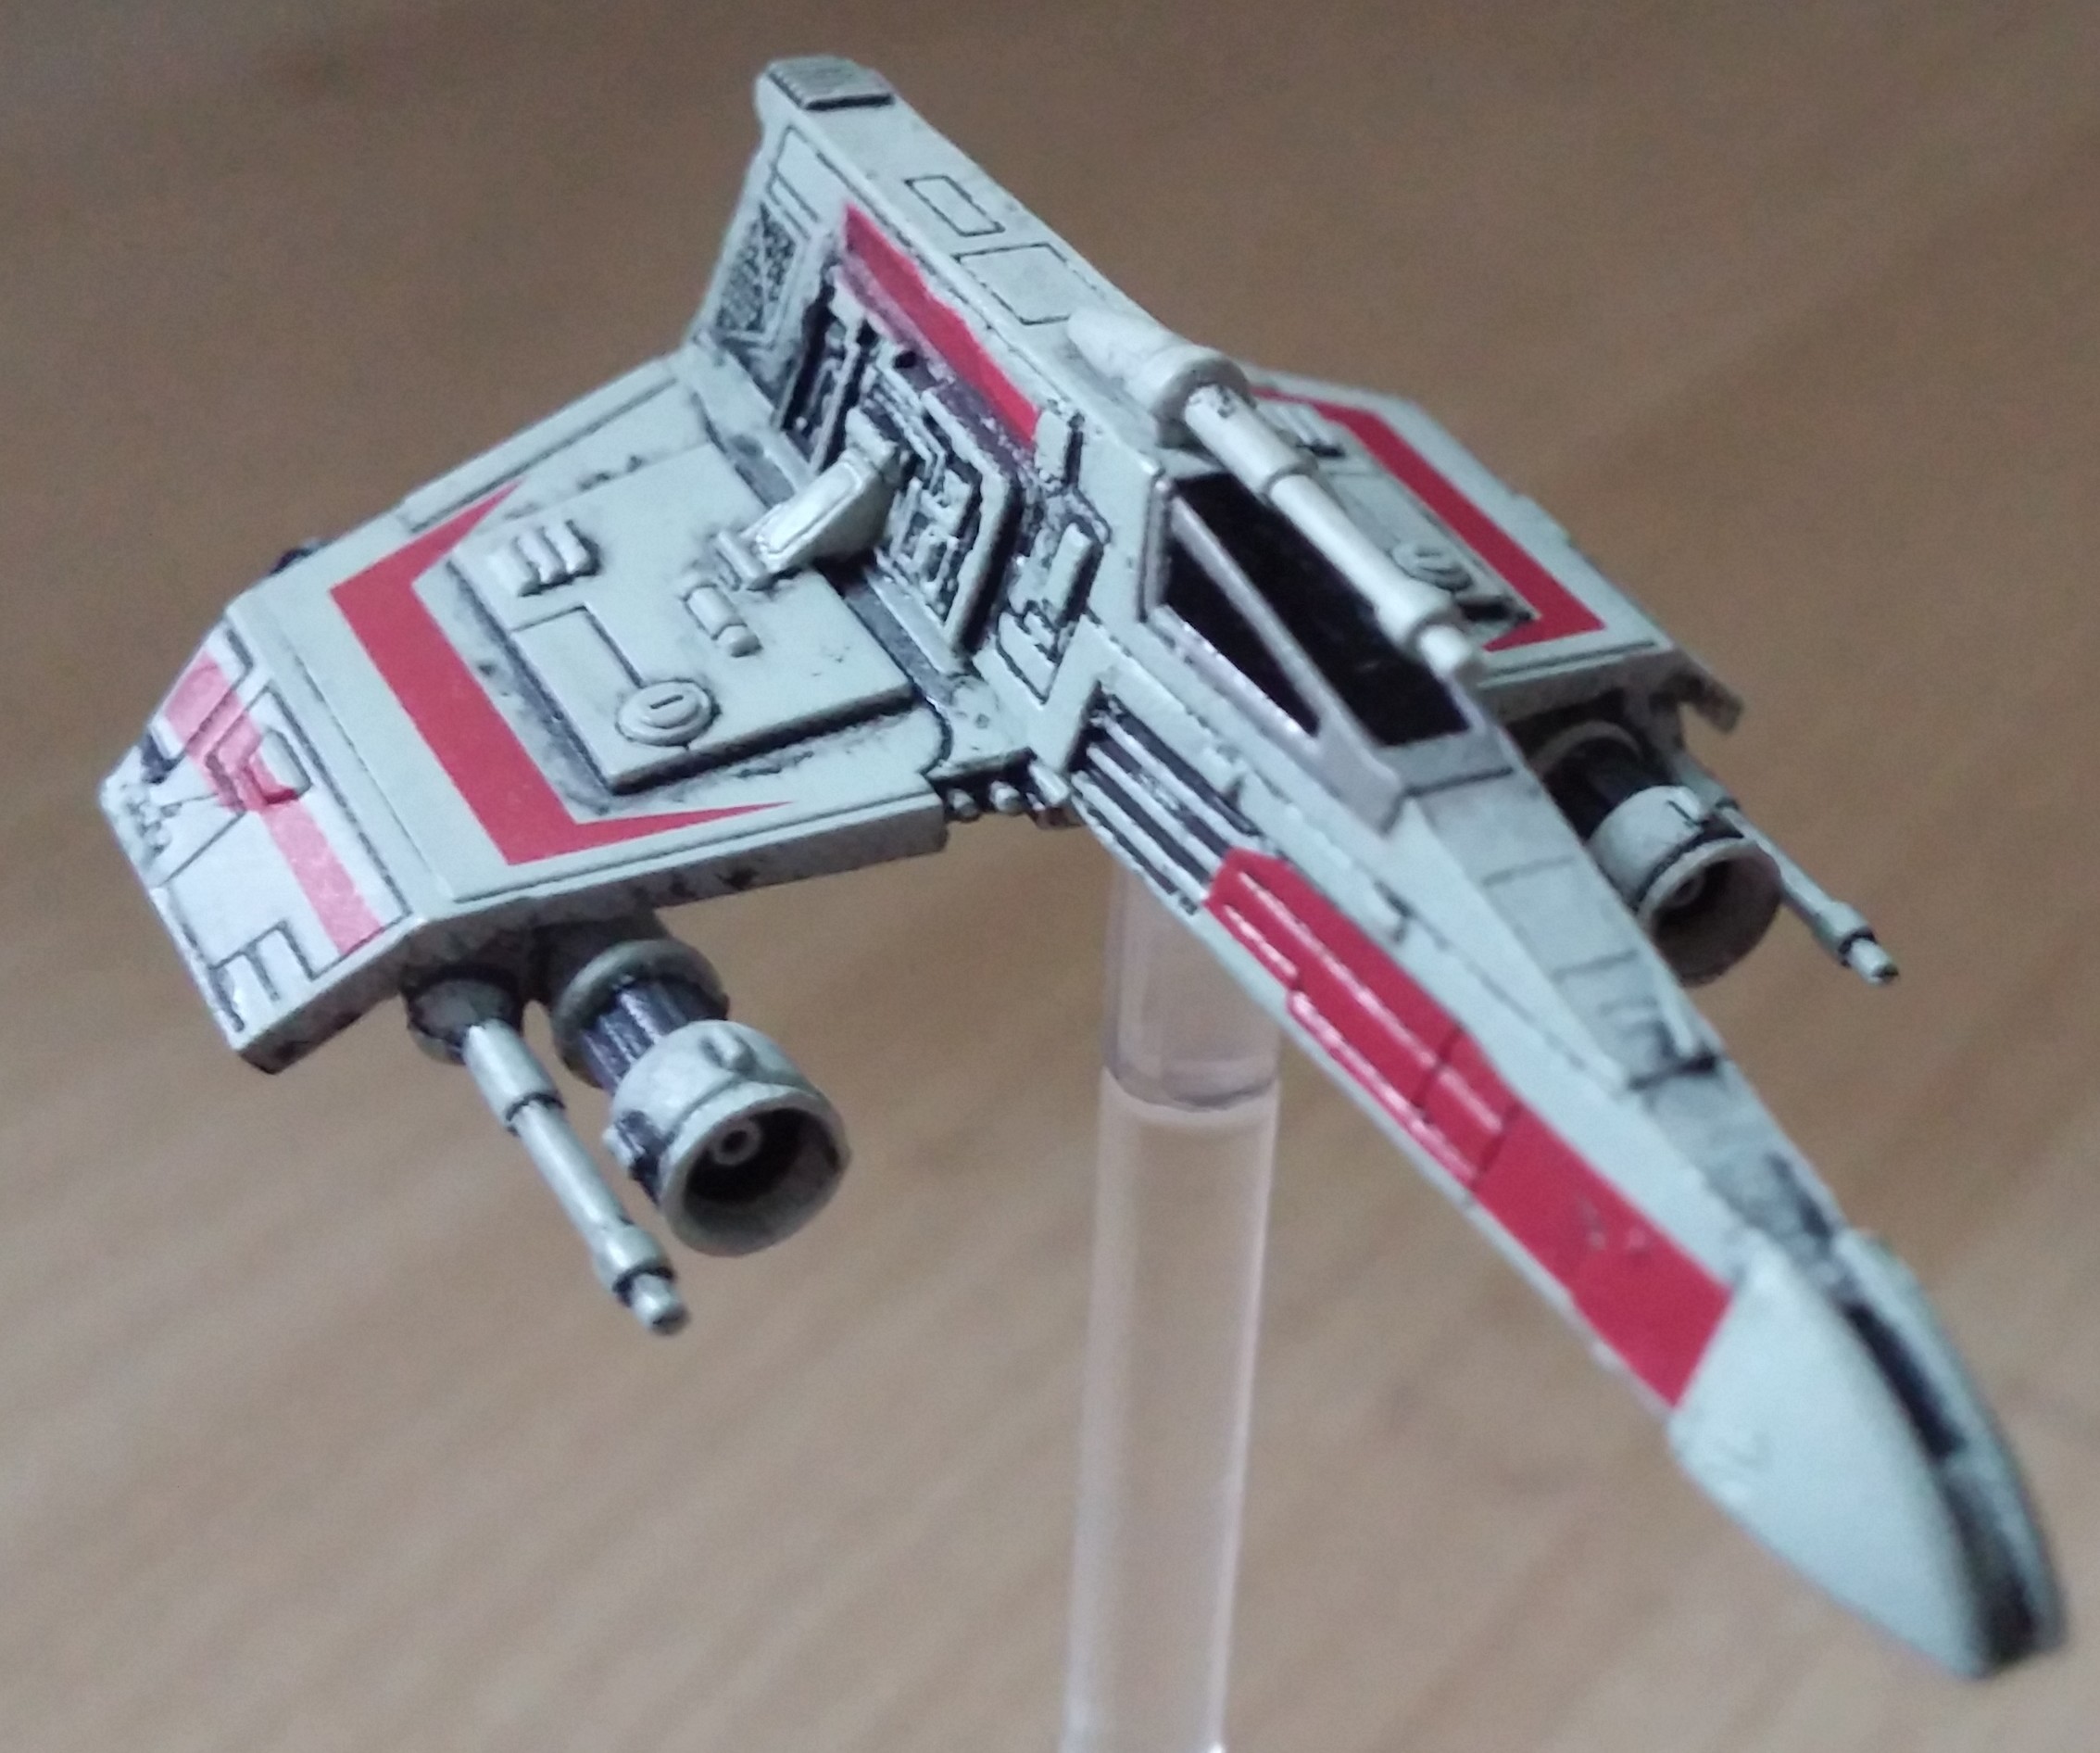 E-Wing “Corran Horn” (E-Wing Expansion) (49 pts)
At the start of the End phase, you may perform one attack. You cannot attack during the next round.
- Elite Pilot Talent- Push the Limits (A-Wing/Imperial Aces Expansions): Once per round, after you perform an action, you may perform 1 free action shown in your action bar. Then receive 1 stress token.
- Astromech- R2-D2 (Original Core)- After executing a green maneuver, you may recover 1 shield (up to your shield value).
- System- Advanced Sensors (Lambda Shuttle/E-Wing Expansions)- Immediately before you reveal your maneuver, you may perform 1 free action. If you use this ability, you must skip your “Perform Action” step during this round.
- Modification- Engine Upgrade (Millenium Falcon/YV-666 Expansion)- Your action bar gains the Boost action icon.
K-Wing “Miranda Doni” (K-Wing Expansion) (39 pts)
Once per round when attacking, you may either spend 1 shield to roll 1 additional attack die or roll 1 fewer attack die to recover 1 shield.
- Turret- Twin Laser Turret (K-Wing Expansion): Attack (Range 2-3, 3 attack): Perform this attack twice (even against a ship outside your firing arc). Each time this attack hits, the defender suffers 1 damage. Then cancel all dice results.
- Crew- Chewbacca (Millenium Falcon Expansion)- When you are dealt a Damage card, you may immediately discard that card and recover 1 shield. Then, discard this Upgrade card.
 Z-95 “Bandit Squadron” (Z-95 Expansion) (12 pts)
None
- None
Lock S-Foils in Attack Position
This list is all about being tough to kill by regenerating health. Miranda and Corran and recover shields every round so even if you deal them a lot of damage if they ever get out of the cross hairs for a round or two, they will recover most of it. This means your enemy has to focus fire on of them, leaving the rest of your ships unmolested.
Keep your ships spread out a little so that whichever ship the enemy goes after your others can get in behind them. Then run away with whichever ship took some hits. If Corran gets focused, use his double tap and then run like hell. Spend a round or two drift back into the engagement with green maneuvers. If Miranda gets focused, use SLAM to run far. She doesn’t really like SLAMing since her ability won’t trigger but two three straights in a row can cover some good distance across the board.
Your Z-95 is really there as filler and as a blocker. Get in your enemies’ way with him so they can’t follow Miranda or Corran. If your enemy ever goes after him, great, it gives Miranda and Corran more time to recover. Z-95’s can drop fast but any shot not at your expensive ships is worth it.
Variations
There aren’t a lot of variations on this list without drastic changes. You could give Corran a different EPT or Fire Control System over Advanced Sensors. You could also trade in some of Corran’s flexibility by losing Engine Upgrade in favor of a hull upgrade. Given the existence of the Advanced Homing Missile and the rebirth in Proton Bombs this would not be a bad thing to do. Nothing sucks more than losing a fully shielded Corran to a Direct Hit that bypasses shields.
You could also drop the the Bandit and load Miranda up with some bombs and munitions. But that would reduce your enemies’ available targets making Miranda or Corran more likely to drop quickly from concentrated fire.
Wayne Basta
Latest posts by Wayne Basta (see all)
- X-Wing Tier List – Rebels - May 10, 2023